Using Quick Pay
For information on setting up Quick Pay, see Configuring Quick Pay.
Once quick pay is fully configured,
-
Navigate to the web page configured with the Quick Pay Purchase web content. In the published page,
-
If the Show Invoice or Order Number and Email setting was enabled, a section will appear allowing a user to enter an Invoice/Order Number and the Email Address of the purchaser.
-
If the Show Quick Pay Code setting was enabled, a section appears allowing a user to enter a Quick Pay Code to make their payment.
-
Note: The Quick Pay Wizard Landing Message can also be configured in the Configurations App to display a message at the top of this form.
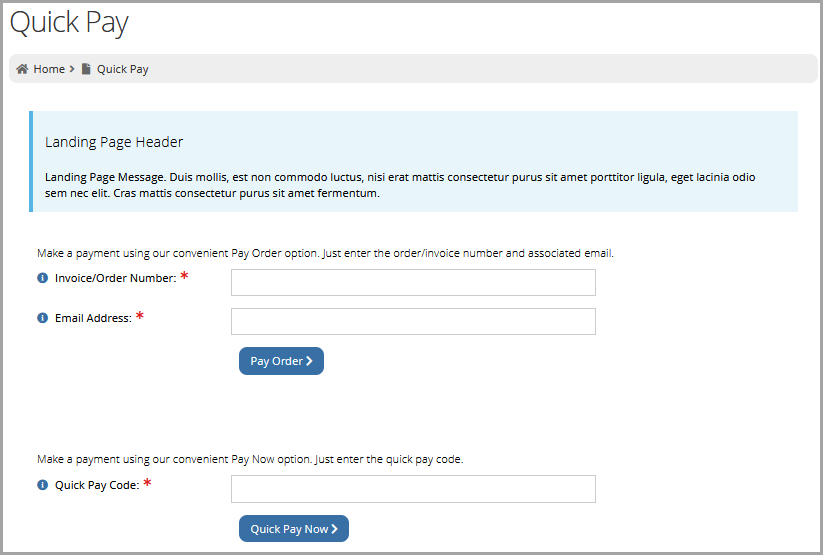
Depending on how the page is configured, the user can enter the Invoice/Order Number and the Email Address associated with the order OR the Quick Pay Code (which is visible at the top of the Order and Invoice Records).
If both are enabled, the user is required to complete only one of these sections.
-
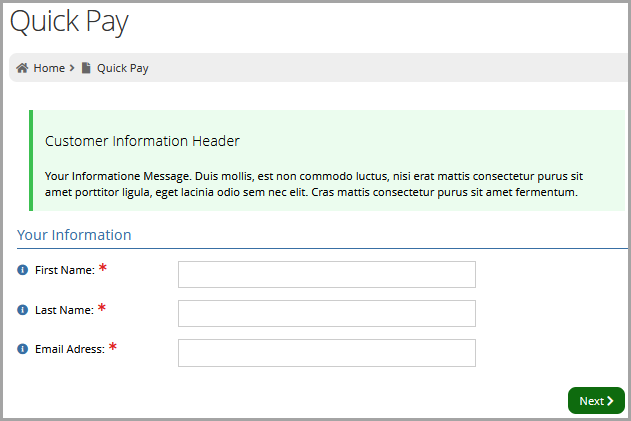
Click through to the next step. The payer is required to enter their First and Last Name and Email Address.
If the email address already exists in the system, the payment will be associated with that user. If not, a new customer record is created for the payer.Note: The Quick Pay Wizard Customer Information Message can be configured in the Configurations App to display a message at the top of this form.
-
Click Next.
-
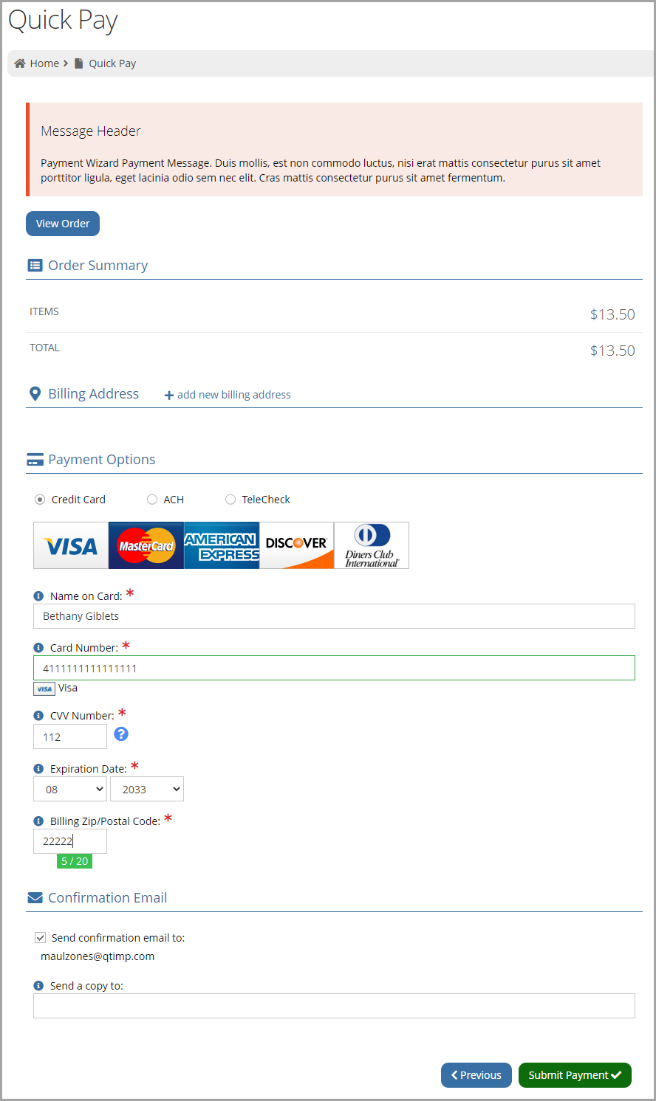
On the final stage of checkout, the payer submits their payment information and completes the payment.
Note: The Quick Pay Wizard Payment Message can also be configured in the Configurations App to display a message at the top of this form.